Scroll down for more information

Getting Started on the Classroom Equipment
On the Control Panel touch anywhere on the panel to start the projectors and drop the screens.
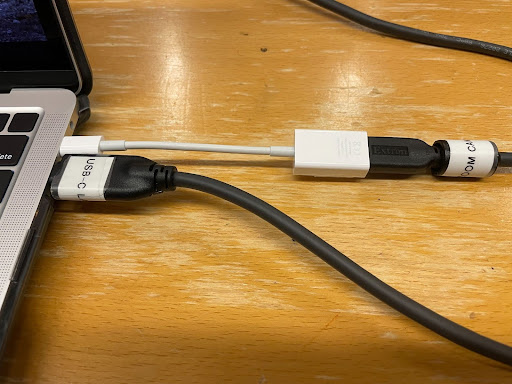
Select: USB-C or HDMI (iPad) and connect cable.
To Mirror or Duplicate your desktop to the projection screen:
- Go to Laptop System Settings:
- Mirror or Duplicate your desktop to the projection screen
- Shortcuts:
- Mac – hold Command button and press F1
- PC – hold Windows button and press P
To have your program audio come out of the room speakers:
Go to Laptop System Settings > Sound > Output and Select ExtronScalerD

Zoom (or any web video software) App Settings
Connect Webcam AV cable.
|
Camera: webcam or laptop camera |
|
Microphone: webcam or laptop mic |
|
Speaker: ExtronScalerD |
Please turn off the system after use – using the power icon on the bottom right of the page on the control panel.
|
For more information or to schedule a training email: media @ law.berkeley.edu Need immediate assistance? Call us with the iPad with the phone icon in the toolbar or Call the office 510 | 642 | 1924 Media Services Office Law Room 155 |
Guide for Remote Video Meetings (using Zoom)
Step 1: Create Zoom link
You can access your free professional Zoom account by signing in at berkeley.zoom.us with your CalNet ID.
- Media Services does not provide Zoom links for your class or event.
- Please bring your laptop with your up-to-date Zoom client installed to the classroom.
- Be prepared to log into your Zoom account using your CalNet ID and cell phone in order to use two-factor authentication.
Step 2: Set up Hardware
Once in the classroom – touch the control panel to turn on the projectors and drop the screens.
- Connect the laptop to the system’s projector via HDMI or USB-C audio/video cable

- Connect Webcam AV cable (if using)
- Mirror or Duplicate your desktop to the projection screen
For Mac OS:
Navigate to the Apple dropdown menu on the top left corner of the desktop.
Select > System Settings > Displays > Use as > Mirror for ExtronScalerD – this is the classroom projector


For Windows:
Navigate to the Windows button on the bottom left of the desktop.
Select > Settings > Display > Under Multiple displays > Duplicate these displays


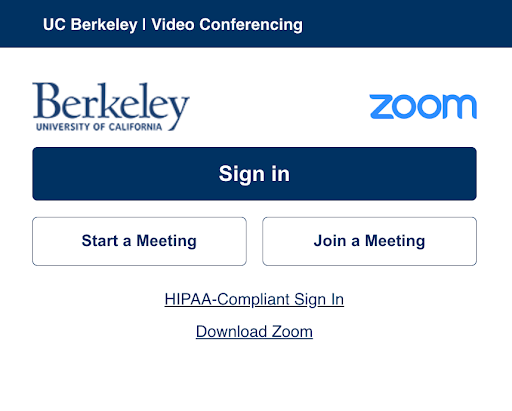
Step 3: Sign into Zoom
Go to berkeley.zoom.us and sign in with your Calnet ID.
Start your meeting.
Step 4: Select Camera, Microphone and Speaker Options
If using the Jabra webcam – in your Zoom application settings:
|
Select a Camera > Jabra PanaCast 50 |
|
Select a Microphone > Jabra PanaCast 50 |
|
Select a Speaker > ExtronScalerD – for the sound system provided in the room or Jabra PanaCast 50 to come out of the Jabra. |
Step 5: Test Audio Settings
Click the audio submenu (next to the Microphone icon)
Select > Test Speaker and Microphone. This will ensure that all of the connections are working properly.

If you are on a Mac – you can adjust the volume on Zoom or using the program volume buttons on the control panel.